


Skip to main content Skip to search Skip to main navigation

Product information "WireView GPU"

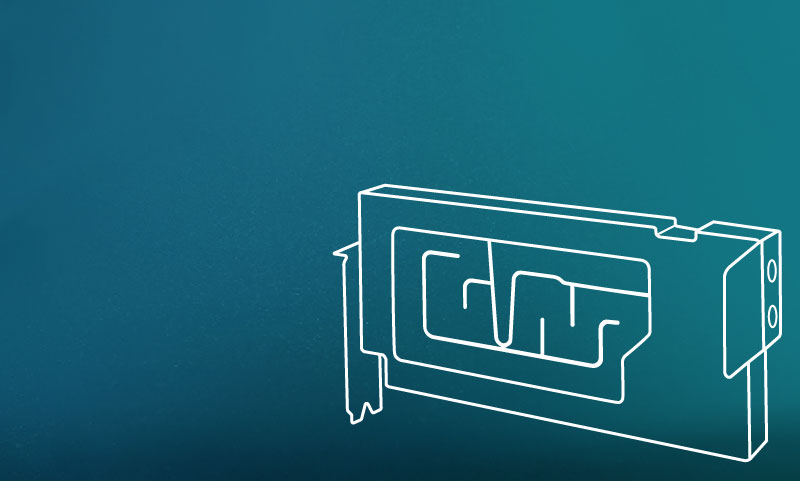
The WireView GPU is a device for measuring the power consumption of graphics cards that was developed in collaboration with Jon "elmor" Sandström It is plugged into the PCIe power connectors of the graphics card and connected to the power supply unit via the PCIe power cables. The power consumption data is displayed via an OLED display.

At the same time, the WireView GPU takes on a cable management function, as its "U"shape enables optimised routing of the cables. The PCIe power cables are connected to the WireView GPU in such a way that they can be laid neatly over the backplate of the graphics card. This avoids cable bulges when routing the power cables and simplifies cable management.

WireView variants

Properties

  • Measuring power consumption
  • Logging of power consumption
  • Optimised cable routing
  • Easy mounting
  • High compatibility

Measurement of power consumption

The WireView GPU enables the measurement of the power consumption of graphics cards and records this data to determine the power consumption. This data can be used, among other things, to determine the power costs of a graphics card or to compare the power consumption with other graphics cards. A special 60-second measuring cycle enables the power consumption to be displayed quickly and conveniently, which is very practical for reviews, for example.

At the same time, measuring the power consumption can be used to determine the power consumption of graphics cards over a certain period of time or with certain applications. In addition, load peaks in power consumption ("peaks") that can occur in the operation of current high-end graphics cards can be determined.

WireView installed
WireView side view

OLED display for real-time data

The WireView GPU shows the measured values on the display. You can switch between the displayed values at the touch of a button. The following values can be displayed:

  • Display of the current power consumption in watts [W]
  • Current power consumption in watts [W], current voltage in volts [V], current current in amperes [A]
  • Minimum and maximum power consumption in watts [W]
  • Average power consumption over 60 seconds [AVG W] and total power consumption [E]

Normal vs Reversed

The WireView GPU is available in "N" and "R" versions regardless of the number of 8-pin PCIe connectors (or the 12VHPWR plug).

"N" stands for the normal orientation of the PCIe connectors on the PCIe expansion card, while "R" stands for the rotated (reversed) orientation. In the normal orientation (N), the retaining clip of the connector points away from the PCB of the expansion card. In the rotated orientation (R), the connector's retaining clip points towards the PCB.

WireView rear view

„High Power“-variants

The WireView GPU is also available in two "high power" variants for the 12VHPWR connector. The first variant has one 12VHPWR input and output each, while the second variant is connected to the graphics card via 12VHPWR and to the power supply via three 8-pin PCIe connectors. 

When using the 12VHPWR adapter, make sure that each of the three 8-pin PCIe connectors is connected to the power supply unit with a separate 8-pin PCIe cable. The use of a splitter (Y-cable) is strongly discouraged! The configuration of the 12VHPWR corresponds to the 600W version.

Attention, important note: Risk of injury!

Depending on the graphics card used, but especially in the case of the GeForce RTX 4090, up to 450 watts of current flow through the connections of the WireView. The waste heat generated by this can heat the circuit board at the connector of the WireView up to 60 degrees Celsius with an air-cooled graphics card. In the case of a water-cooled graphics card without airflow, the PCB of the WireView can heat up to 100 degrees Celsius! The WireView housing should not be touched during continuous operation under full load. After switching off the system, the WireView should be allowed to cool down before handling it.

You can find more information in the Hardware Unboxed video.

WireView GPU

Use WireView GPU only with the connector version that matches your graphics card and a cable approved for your power supply and power requirements. Fully insert all connections until the latch engages, and avoid sideways pulling and tight bends immediately next to the connector.
Check the exact GPU model, including its revision, against the current WireView GPU compatibility list and dimensional drawing. The cooler, backplate or recessed sockets can prevent installation even if the connector matches. If you use a water block, you must check that the modified setup provides enough space. Approval for the original cooler is not sufficient for this. For vertical installation, all connectors must also latch fully, and cables must be routed without strain and with a sufficient bend radius. With vertical installation, the display cannot be viewed from the front, but vertical use is generally possible. Models that are not listed are neither automatically approved nor ruled out. If in doubt, send us the model numbers and photos of the connector area.
Normal and Reversed refer to the mechanical orientation of the WireView GPU connector. Compare the position of your GPU's latch and sense contacts with the drawing of the corresponding version. The connector geometry is what matters, not the display's reading orientation. Also check the clearances to the backplate, cooler and case panel. If compatibility is unclear, photos from above and from the side will help us check it. WireView GPU, WireView Pro GPU and WireView Pro II are technically different generations. Their features, software and accessories are not freely interchangeable. The Wired version has a measurement unit that can be mounted separately and is linked by a connecting cable. We have provided additional images in the Thermal Grizzly shop to illustrate the orientation of Normal and Reversed. Check the orientation of the socket on the graphics card.
WireView GPU is operated using the buttons and menu for the corresponding device generation. Use the matching instructions for resetting or saving settings, as button sequences may differ between revisions. Only change calibration values after consulting us. The power measured at the graphics card power connector does not necessarily equal the GPU's total power consumption. It only represents the power drawn through the measured connectors. On supported revisions of WireView GPU, you can rotate the display by 180° using the corresponding rotation option in the display menu and save the setting. The exact button sequence depends on the firmware and revision. Therefore, use the corresponding instructions. If the option is missing, send us a photo of the device and its version screen.
Shut down the PC immediately, disconnect the power supply from the mains and stop using any damaged or discolored connectors. Allow hot parts to cool and do not force apart connections that have melted together. Document the GPU, cable and WireView GPU with photos, and note the power supply model, cable type and purchase details. Contact us and, if necessary, the GPU or power supply manufacturer before any parts are cleaned, repaired or disposed of. For our diagnosis, it is very helpful if melted connectors are not removed from the graphics card.
With the PC switched off, check that all power connections are in place and that WireView GPU is seated securely. Check the display timeout or brightness settings where applicable. Completely disconnect the device from the graphics card and all cables. Wait briefly, then plug it in again. A reset must only be performed according to the instructions for this device generation. If flickering, pixel defects or display errors persist, send a short video along with the serial number and system details. Do not open the device or install firmware from another WireView version.
Switch off the PC and check that WireView GPU and all cables are fully latched and free of mechanical strain. Check that you have the correct version and that all adapter inputs are supplied with power. On devices with 12VHPWR or 12V-2x6 connectors, poor contact between the WireView sense pins and the graphics card socket can prevent startup. If the problem only persists with WireView GPU connected, send us your system details and photos. Do not test damaged or unusually hot connections again.
WireView GPU displays readings directly on the device. The WireView Pro II software and its USB functions are not intended for this older generation. Any service or data connector present is not an approved standard USB port and must not be connected using homemade adapters. First-generation WireView and WireView Pro GPU have a white data output, but it cannot be read directly. Software support for the older WireView generations is not planned.
The permissible power for WireView GPU depends on its connector version and the ratings of all cables, adapters, power supplies and GPU connectors involved. The lowest limit always applies. Increasing the power limit does not increase a connector's load capacity or the device's approved rating. Operate the GPU within the manufacturer's specifications. Operation outside the standard range can cause excessive thermal stress and damage the WireView.
The original-generation WireView GPU does not have an automatic shutdown function like WireView Pro II. Therefore, do not connect a motherboard power-button cable to any data or service pins. If you need monitored shutdown, check the functions explicitly provided for this purpose on newer models.
The package contents of WireView GPU depend on the specific generation and item number. Compare the device and accessories with the parts list on the product page or in the instructions. Cables, temperature sensors and shutdown accessories are not identical across all generations. If an explicitly listed part is missing, send us proof of purchase and a photo of the package contents.
Color: black
Connector type: 1x12VHPWR, 4-pin
Display: OLED
Material: Aluminum